An example - how to remove oxidation from the soldering iron tip
Here is a video for those who want to watch how to clean the soldering iron tip:
Why to make a post about that?
I’m a member of a lot of DIY subreddits, and I see there are a lot of similarly looking posts created over and over again:
- Why does my soldering iron tip look burnt?
- Burnt tips or bad soldering iron
- Soldering iron tip blackened and won’t melt solder
…and so on. In all cases, they are posted by people who are very new to soldering and don’t know yet what is normal and what is not.
Here is a photo of a few different soldering iron tips:
 From left to right:
- This tip was never used.
- This chisel tip was used with a temperature-controlled soldering iron for a few hours, cleaned between uses, and stored with a bit of solder on the “working” surface.
- This tip was used, but less than the previous one. The same temperature-controlled iron was used, but the tip needed to be cleaned after the last use.
- This one has a cool blue tint, caused by a high temperature because it was used in a cheap soldering iron that would heat nonstop until it was plugged off. Nothing bad has happened to the tip; its working surface is tinned and clean—that’s the most important part.
- This one looks the worst—it’s dark brown, and the tip is covered in dull solder. It’s been used with a cheap soldering iron and with a more aggressive flux (plumbing flux; I’ll add more details about that in the next sections). This one will be used in the video to show how to clean it.
- Also, I have a slightly used tip with a drop of fresh solder on it—nothing special about it; I just wanted to show what I have lying around.
They all are absolutely fine despite absolutely different looks. Some were used with cheaper iron and exposed to higher-than-optimal temperatures, but they are still usable. Just some cleaning is needed.
Please note, the dark brown doesn’t mean the tip is bad/burnt/destroyed/whatever-else-you-can-say-about-it. They are all made of multiple layers of metal, and the only important part is the very tip - just a few millimeters of it. Everything else may look silver and shiny, dark or dull - that doesn’t matter if the tip is clean and undamaged. The tip is covered with a layer of alloy that allows the solder to easily stick to it. That’s the most essential part.
Why do tips look “burnt”?
Soldering irons use relatively high temperatures to melt the solder—usually 180 degrees Celsius and up. Suppose the soldering iron tip isn’t covered with solder. In that case, the top layer of the metal will oxidize because oxygen from the air is contacting it. The hotter the tip is, the faster oxidation will happen.
If the tip was covered with solder, it might still look burnt or at least dirty over time. Why? Because solder also oxidizes, plus there’s a chance there is some flux, rosin, or dirt burnt on the surface now—that’s considered normal if you use the soldering iron.
So, the tip looks burnt because of oxides and all sorts of gunk that might develop there during soldering.
What do you do to keep the tip clean?
You’ll have to clean it periodically. How often - depends on temperatures, flux/rosin, solder, dirt on the materials you are soldering, and so on. You have to wipe/scrub off the old oxidized solder, gunk, and oxides off the tip. But you have to do it carefully - don’t scrape off the outer layer on the tip, or it will become completely unusable, and solder won’t stick to it. I’ll describe what not to do when cleaning the tips later in this post.
After the tip is cleaned, you will have to tin it (apply solder to its surface so the tip won’t oxidize, and solder will oxidize instead. It’s considered cheaper to buy solder rather than new tips).
What should be used to clean the tip?
There are different materials/tools you can use to clean the tips.
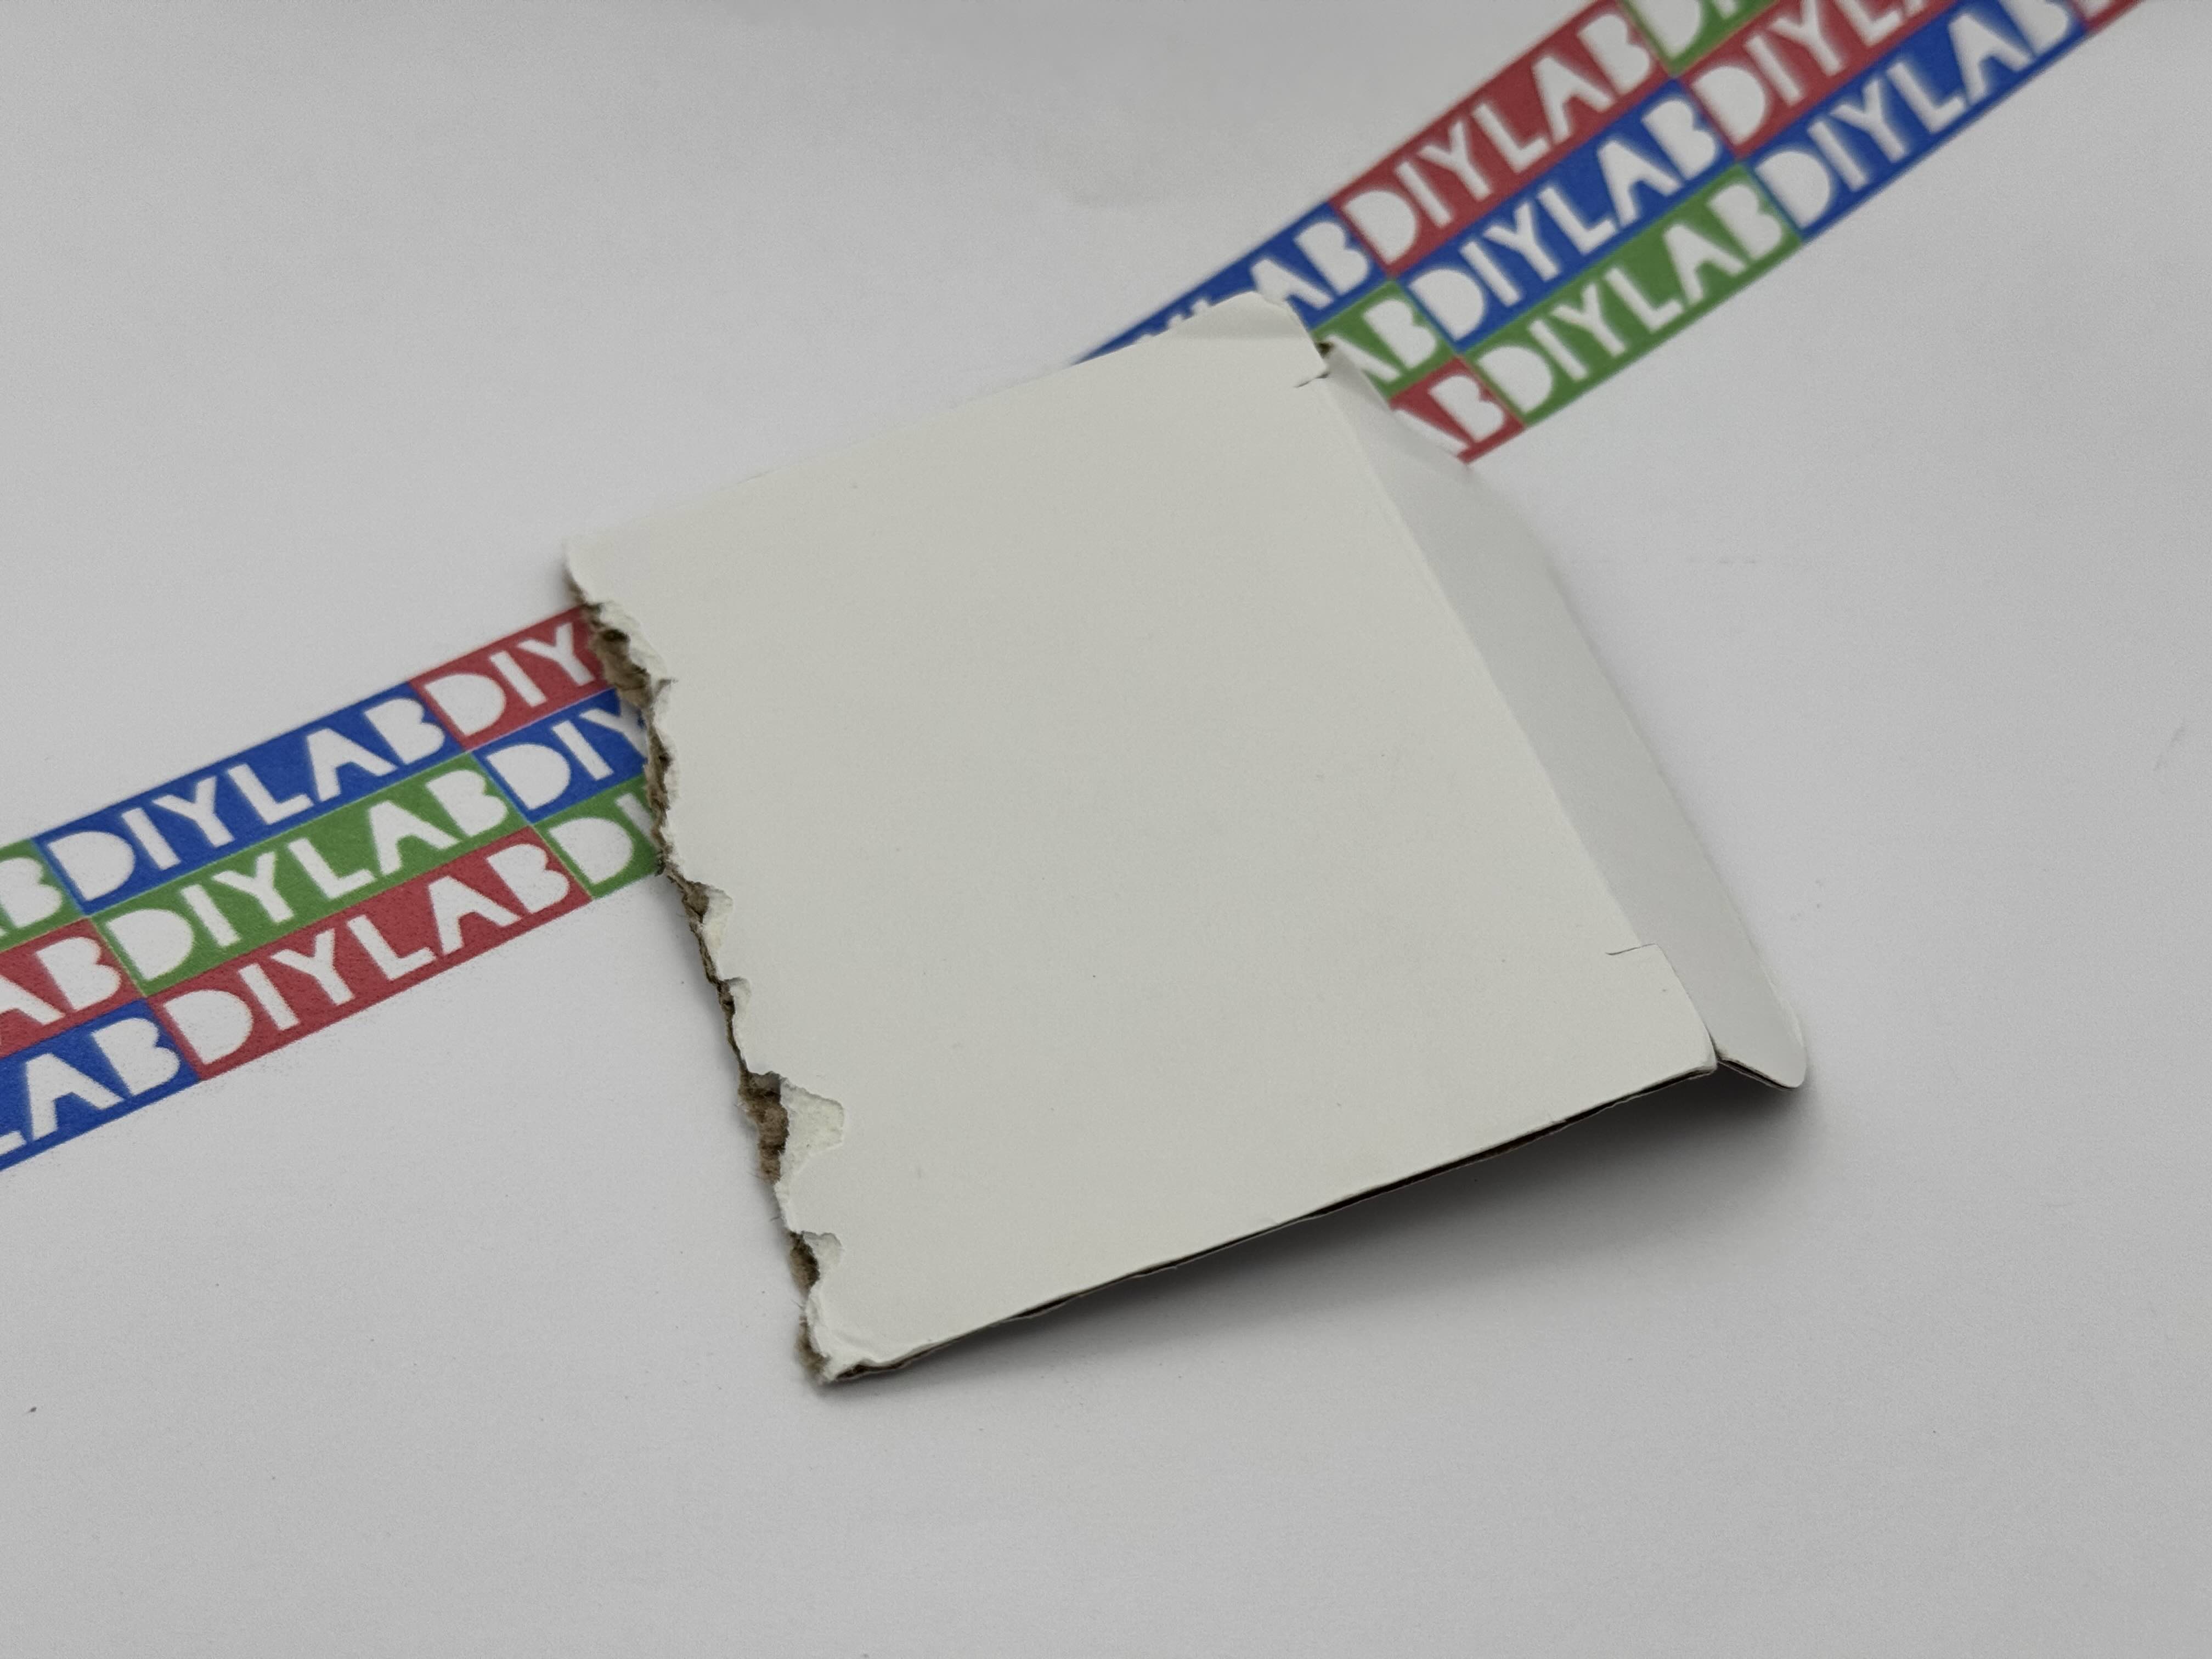
A piece of cardboard
The cheapest one - whatever piece of cardboard you can find at home.
It’s the least recommended way because it’s a fire hazard.
 You can scrape off old solder with a piece of cardboard. But please only use it if you are out of other options.
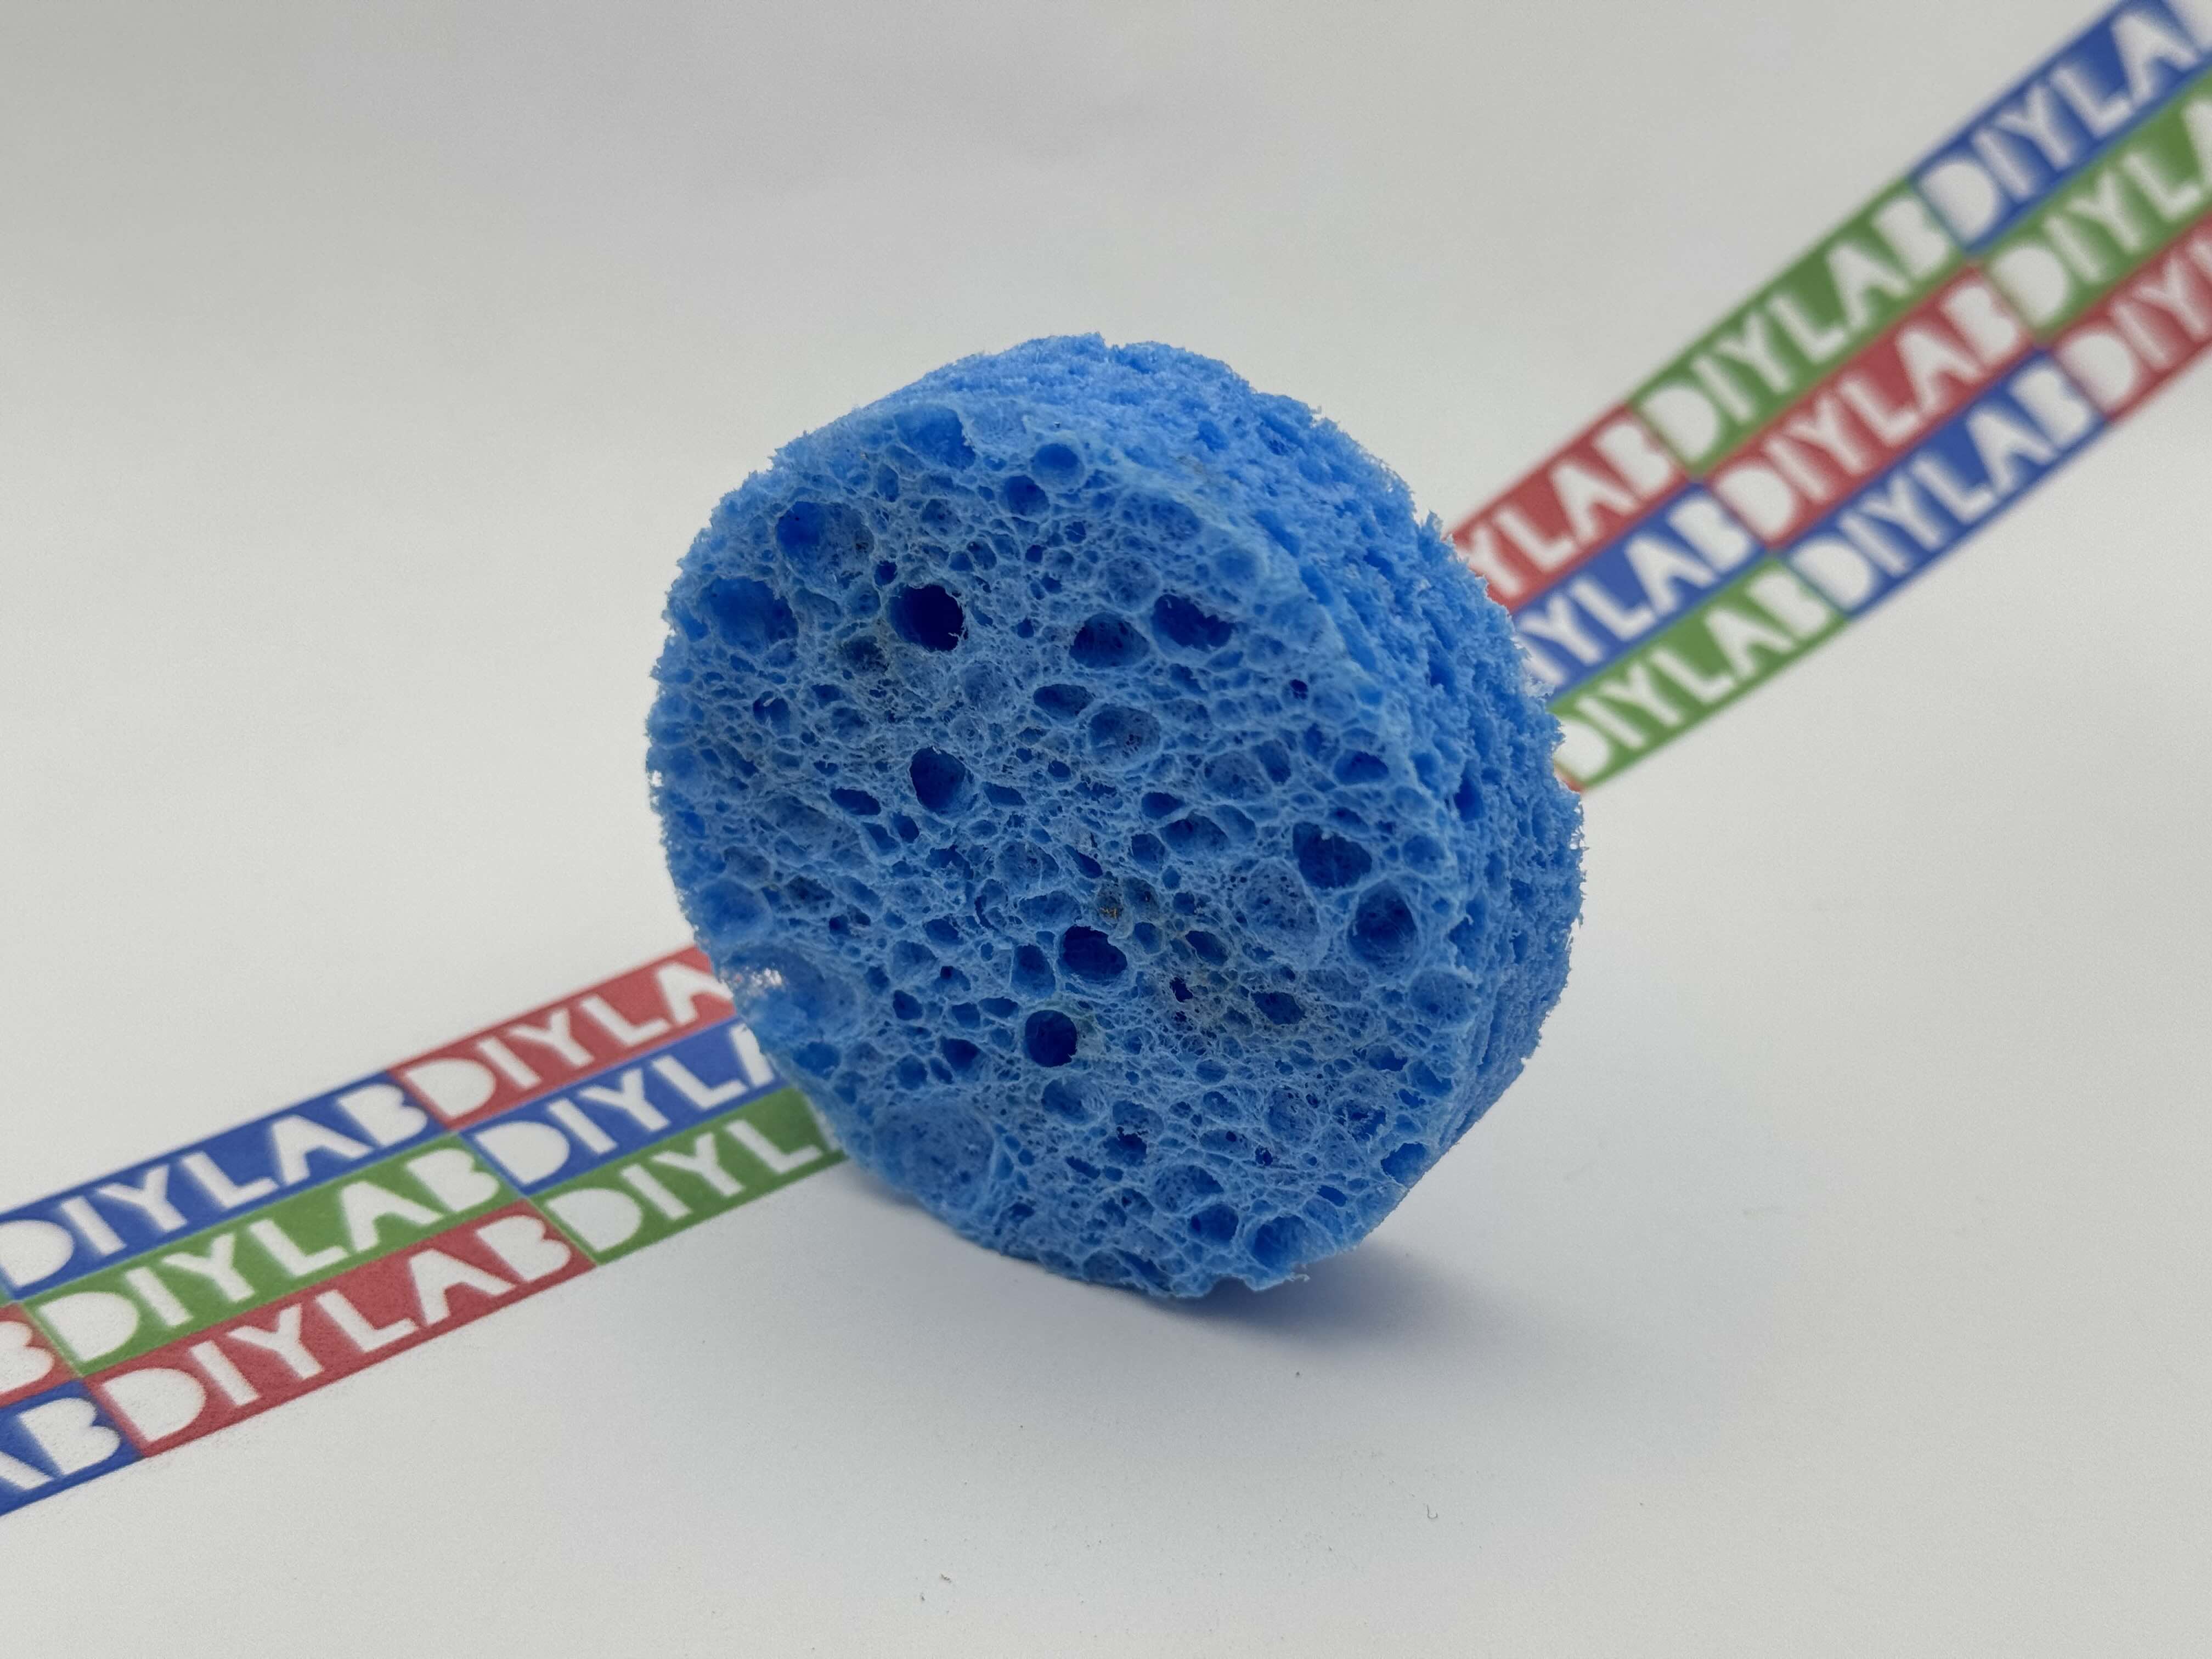
A sponge
 It’s a sponge that you need to moisturize so it won’t burn on contact with the hot soldering iron tip. It shouldn’t be dripping wet, just moist. If it’s wet, you can damage the soldering iron tip due to thermal shock.
You wipe all the solder and dirt off the tip with it. It would take a couple seconds to do that. In some cases, scraping off gunk that has burnt on the tip from the first try might be difficult, so consider the next option.
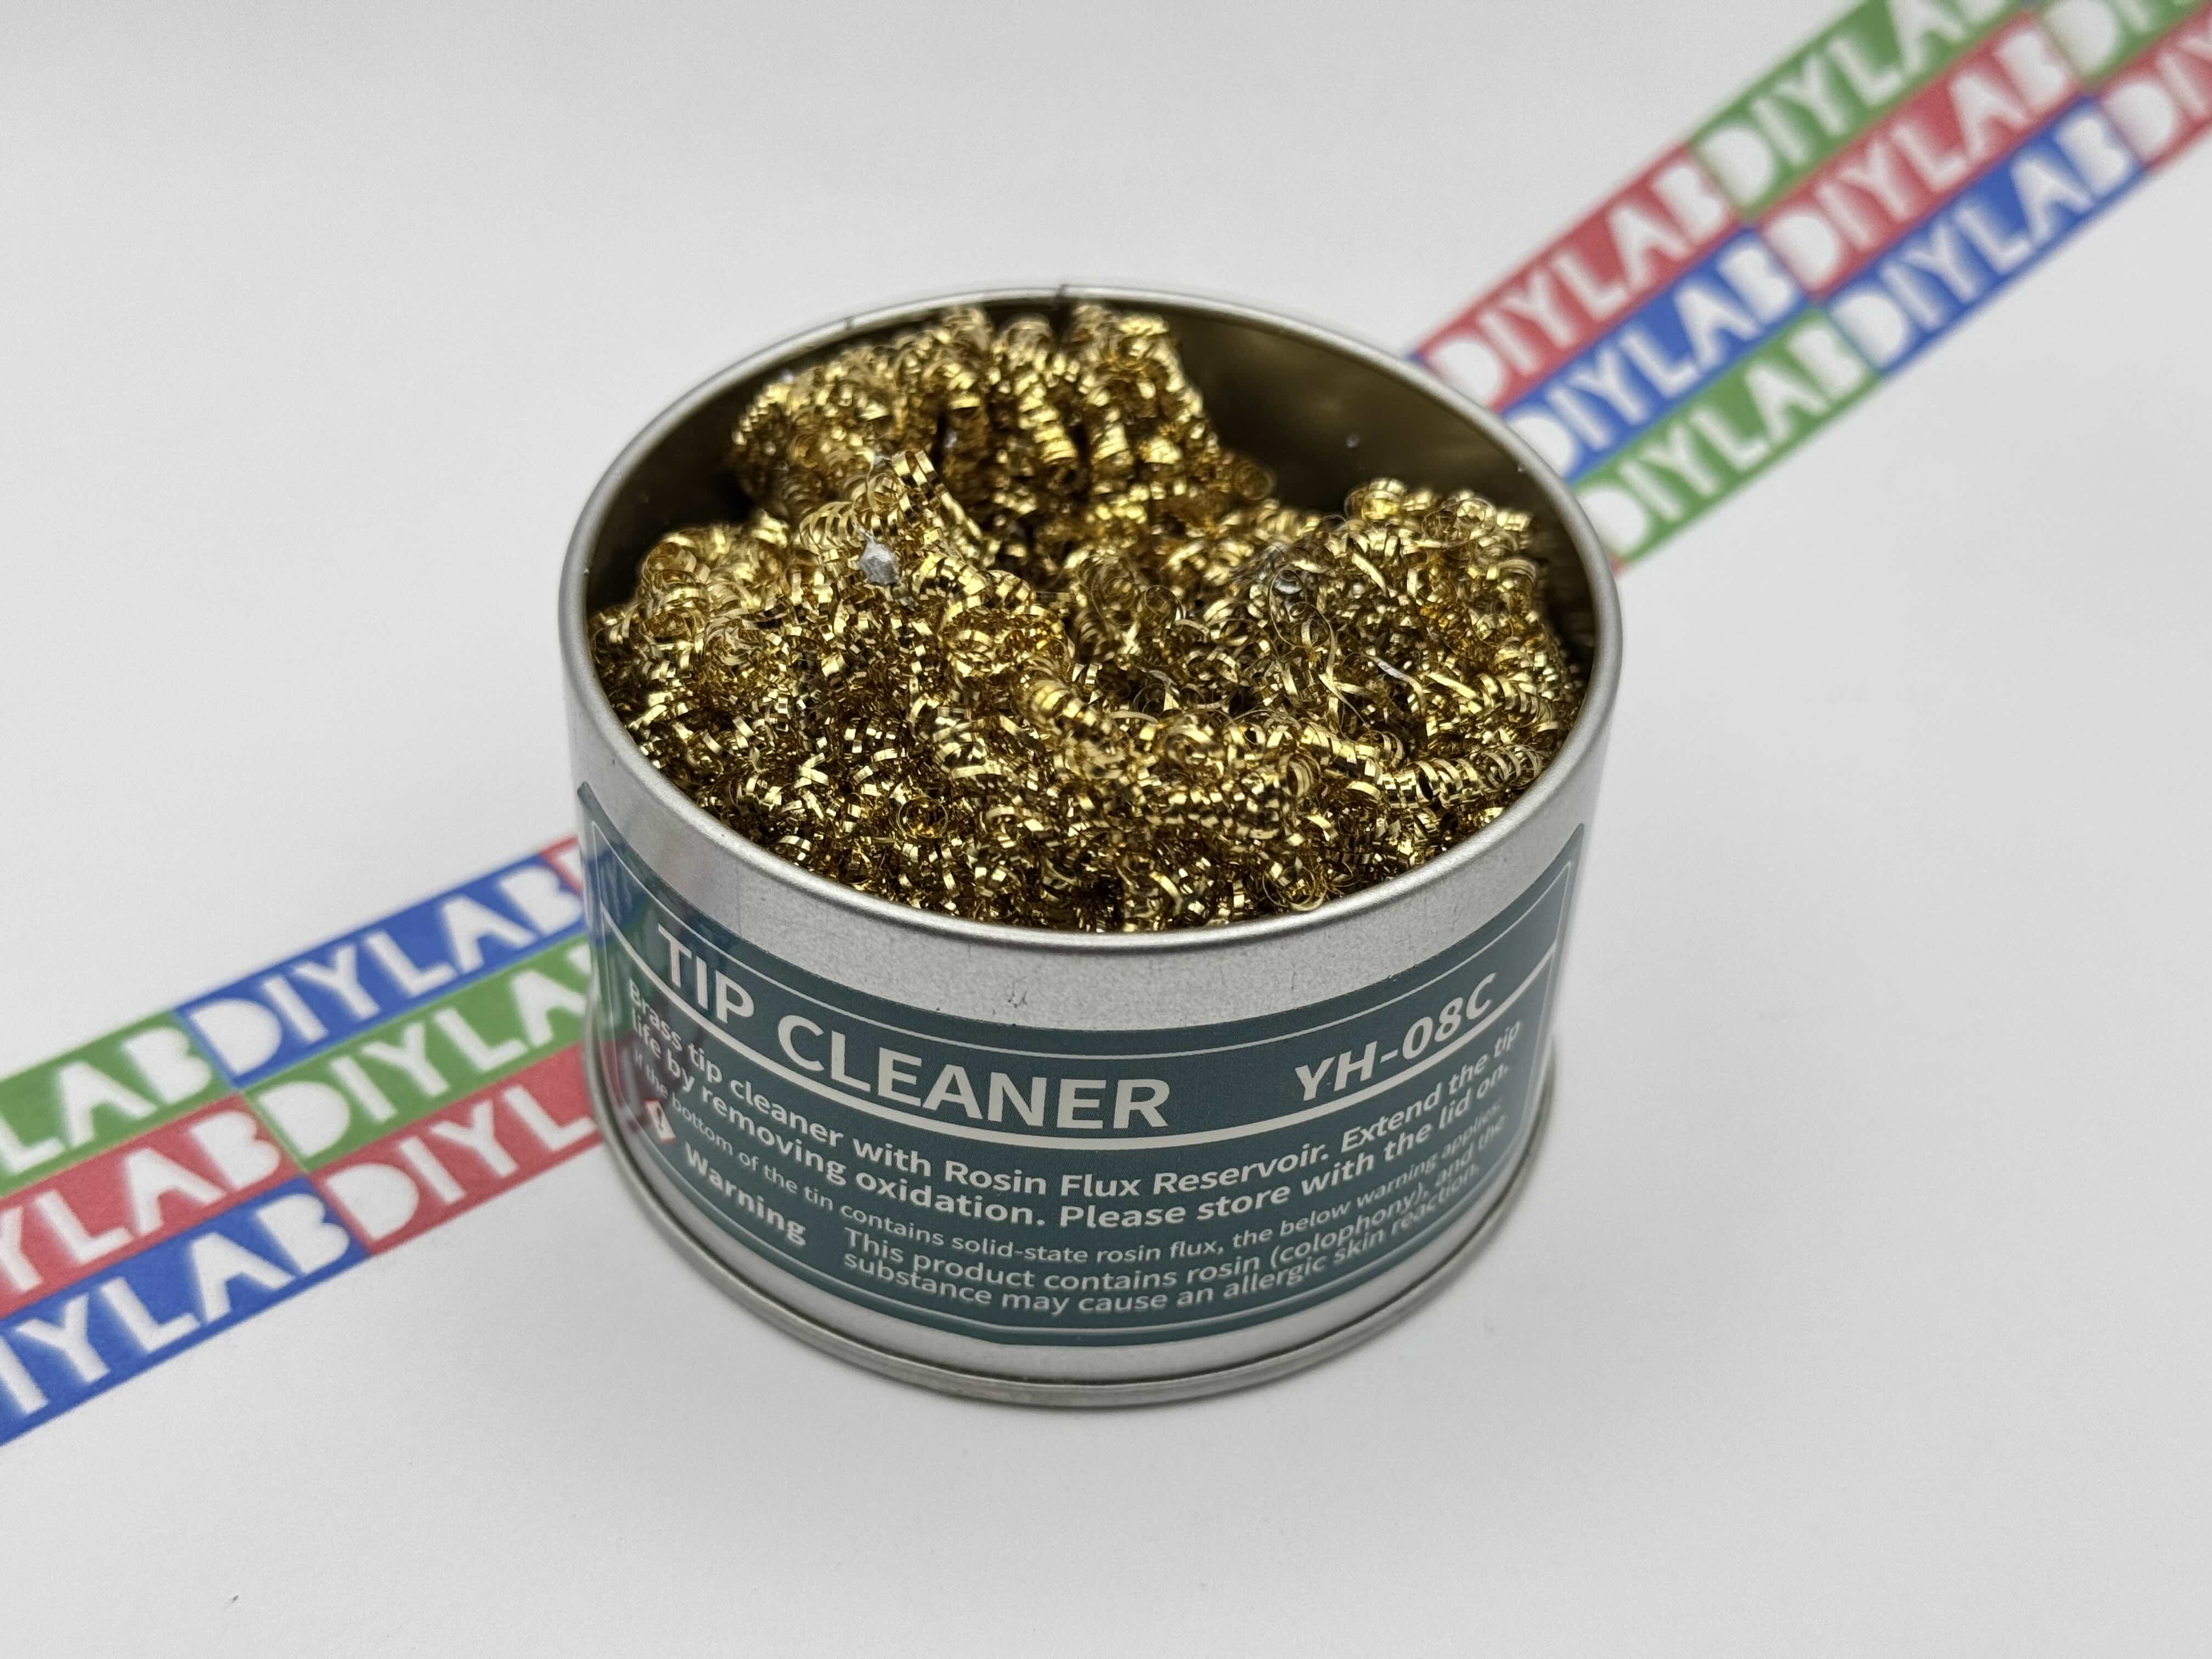
Brass “sponge”/coil
 This option works the best - you can scrape off all the dirt/oxidation, and it wicks away all the solder. Make sure you don’t buy a steel sponge, as it will 100% scrape off the outer layer of metal from the tip, which we don’t want to happen.
You will have to replace it when it soaks too much solder.
Less cleaning? Use flux instead of rosin.
When soldering, you’ll want to use flux instead of rosin. It doesn’t burn as badly as rosin, so it leaves less gunk on the soldering iron’s tip, and it’s easier to apply than solid rosin.
What if you use a solder that already has a rosin core? Good for you - but get some flux anyway. Very often, more than the rosin core in soldering wire will be needed because you’ll likely need more than one attempt to solder two wires together, at least at the beginning. And without rosin or flux, solder won’t stick to (or, more appropriately, “won’t wet”) the wire. Such joints may fail quickly for obvious reasons (insufficient wire strands held together with solder).
Beware of plumbing flux - don’t use it for electronics!
Flux can be sold in different forms - paste in plastic jars, syringes, etc. Make sure you buy one made specifically for electronics, not plumbing.
Very often, plumbing isn’t mentioned directly on the flux packaging.
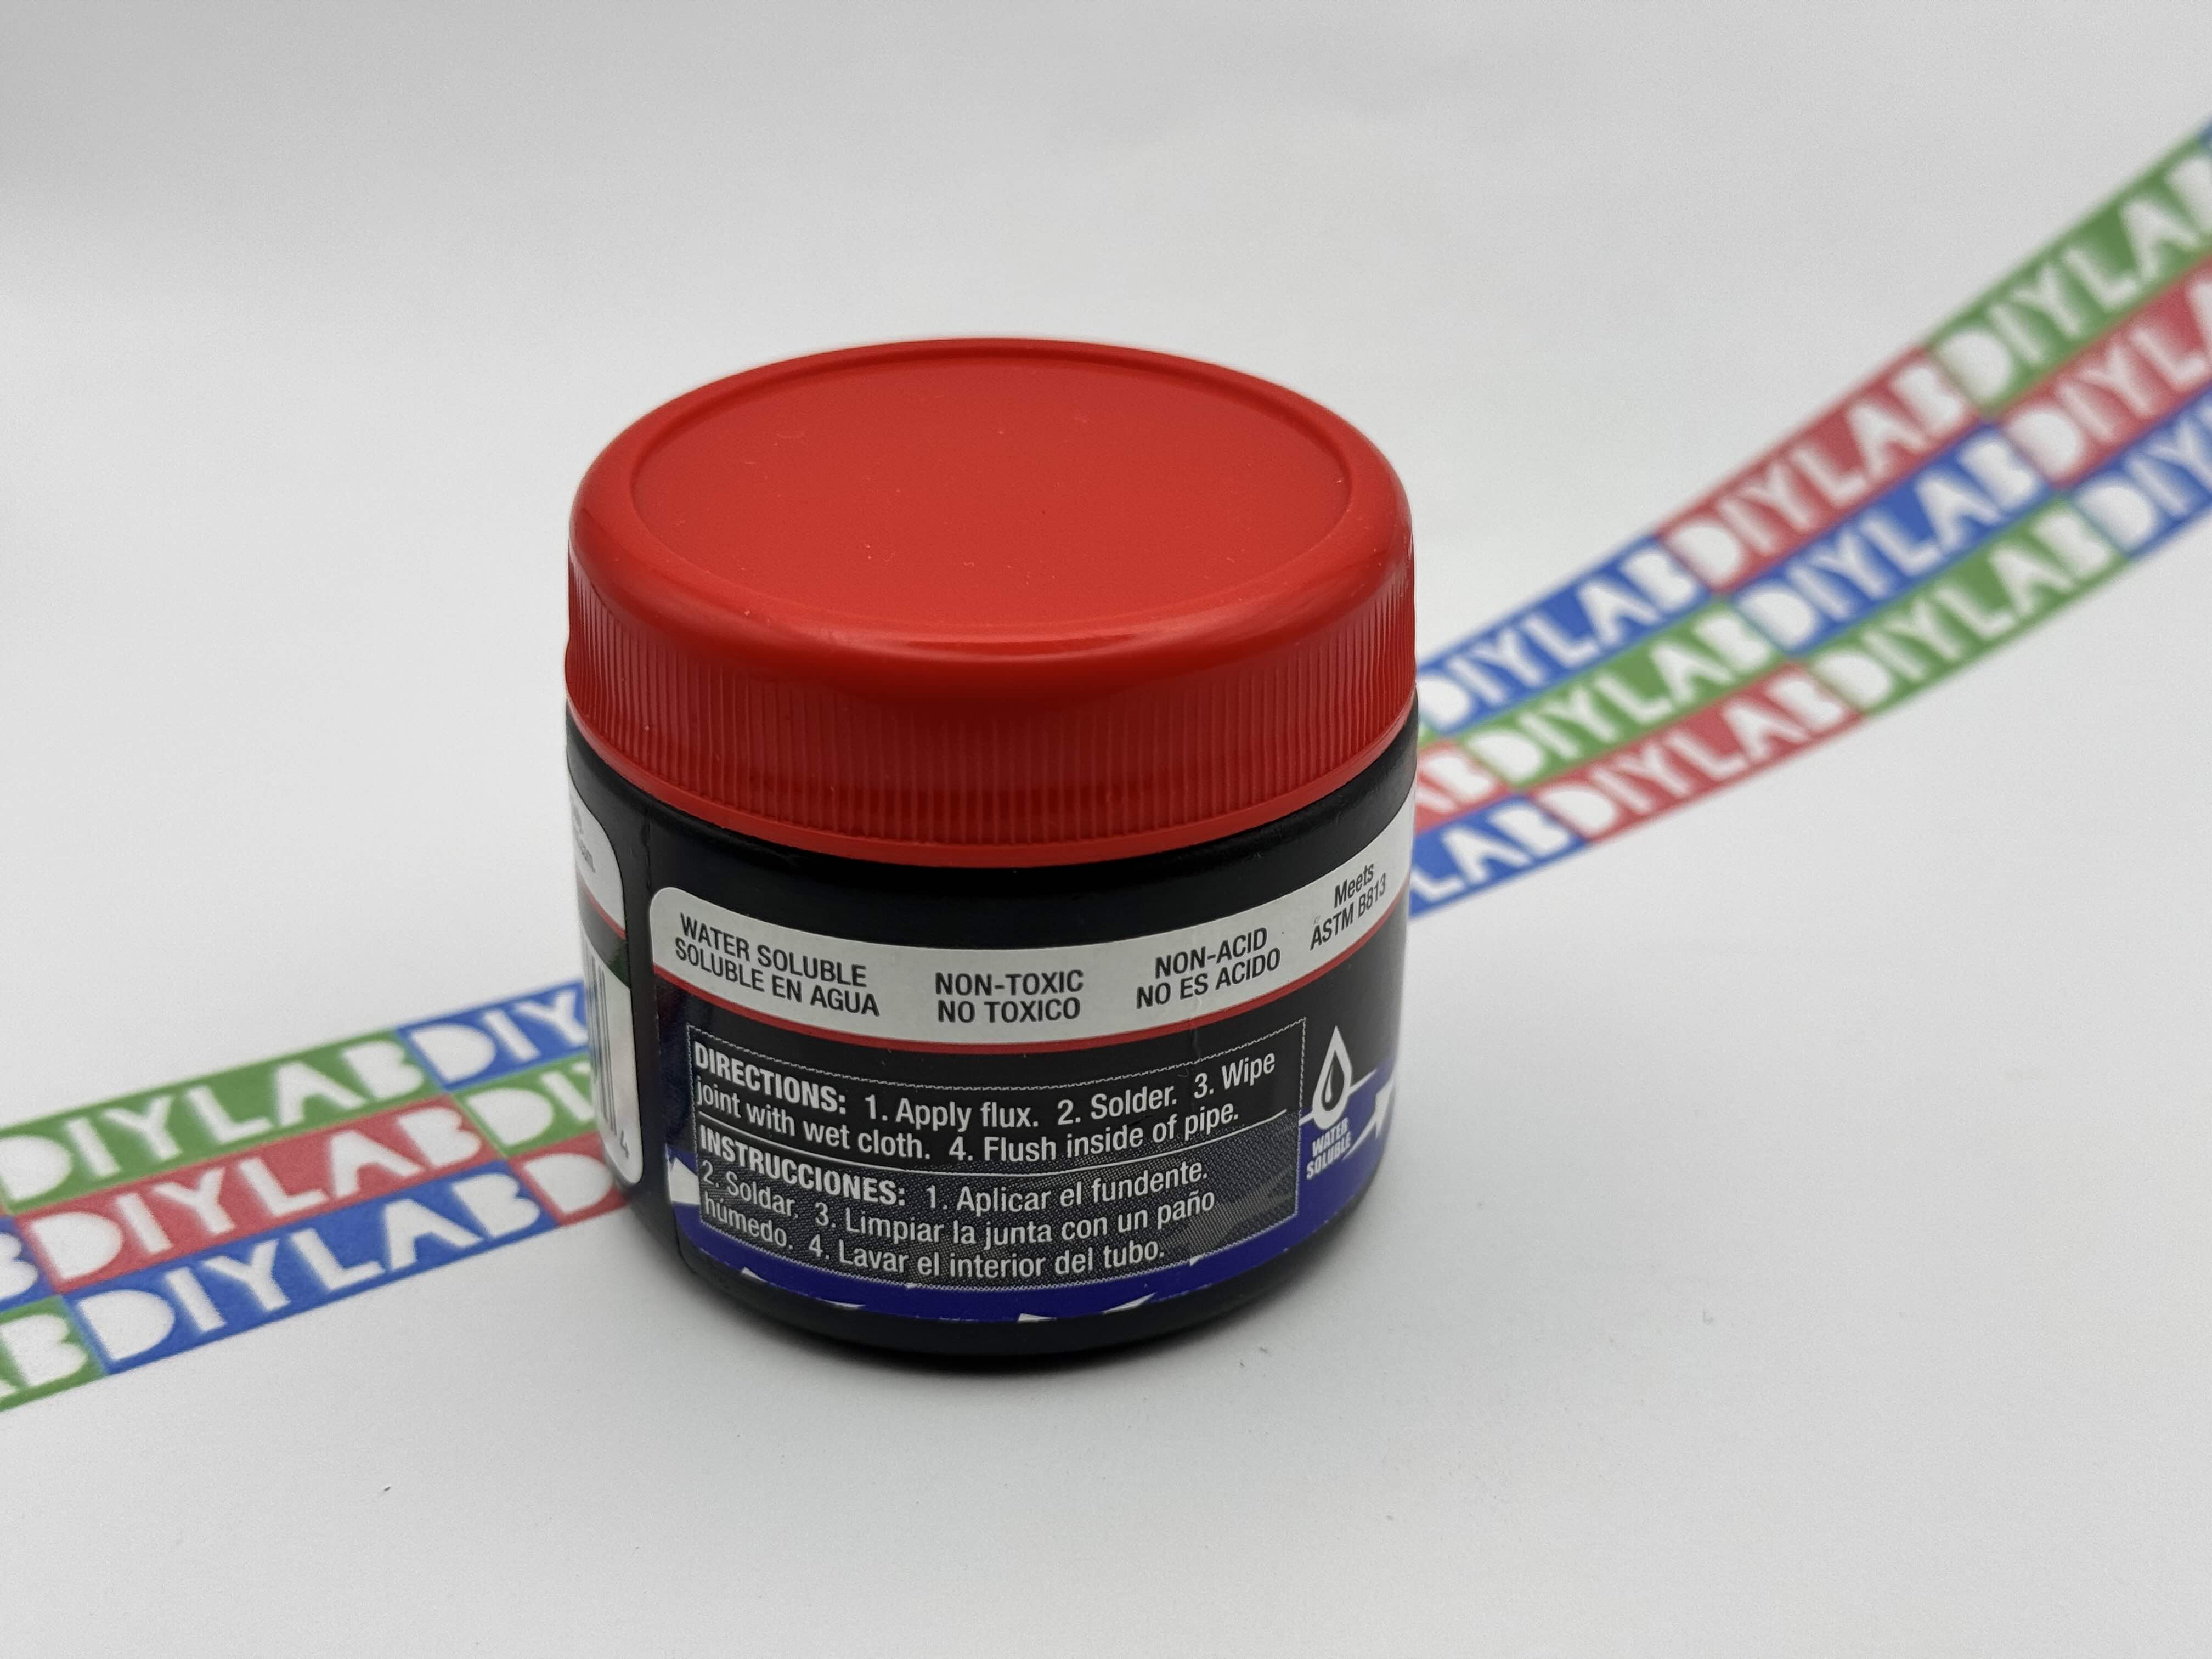
Here is an example:

You may notice such things as “non-toxic” and “non-acid,” which are good, but what is most important — is in the usage directions, it says “flush inside of pipe.”
This is 100% plumbing flux—please don’t use it for soldering electronics. If you don’t clean it off thoroughly, it will oxidize all the joints it touched and accelerate the oxidization of the soldering iron’s tip.
What to avoid?
Abrasives. Don’t use sandpaper and, God forbid, files—you don’t want to remove the outer layer of the soldering iron’s tip 100%. Don’t use steel wool, glass fiber pens, copper or steel coil sponges (like ones for dishwashing), or wire brushes—anything like that would scratch the tip.
Aggressive fluxes - like ones for plumbing.